 The outer window trim are original so i didnt want to get some cheap repo parts put in... So here is what i did ....bought two sets of the inner window scrapper... One set will be used as intended but the other set will be used to replace the outer scrapper.... this isnt as easy as i thought but it worked well and i got to save the original outer trim....
first remove the old outer window scrappers from the outer window trim.... They are riveted to the trim so you will need to drill it out but make sure not to make the hole bigger.. best to use a drill bit that is smaller then the hole...
 Then remove the fuzzy strip from the new inner window scrappers... Again its not an easy task cos it requires brute force but with a lot of care as to not ruin and damage the rubber....
 Below is the old brackets which were holding the old rubber in place... it got all bent out of shape when removing the old rubber seals.... so i took out most of the rivet fragments and took a hammer to it to straighten it out...

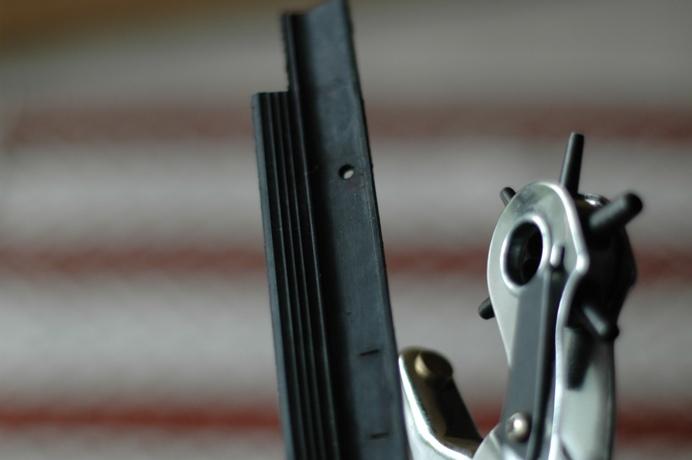
 Then put the bracket, the outer window trim and the stripped rubber piece from the inner scrapper together... align it to make sure it fits properly... so that you can mark where the rivet holds go on the rubber... Then punch holes into the rubber for the rivets...
 Then remove the fuzzy strip from the new inner window scrappers... Again its not an easy task cos it requires brute force but with a lot of care as to not ruin and damage the rubber....
 Below is the old brackets which were holding the old rubber in place... it got all bent out of shape when removing the old rubber seals.... so i took out most of the rivet fragments and took a hammer to it to straighten it out...
 Then put the bracket, the outer window trim and the stripped rubber piece from the inner scrapper together... align it to make sure it fits properly... so that you can mark where the rivet holds go on the rubber... Then punch holes into the rubber for the rivets...
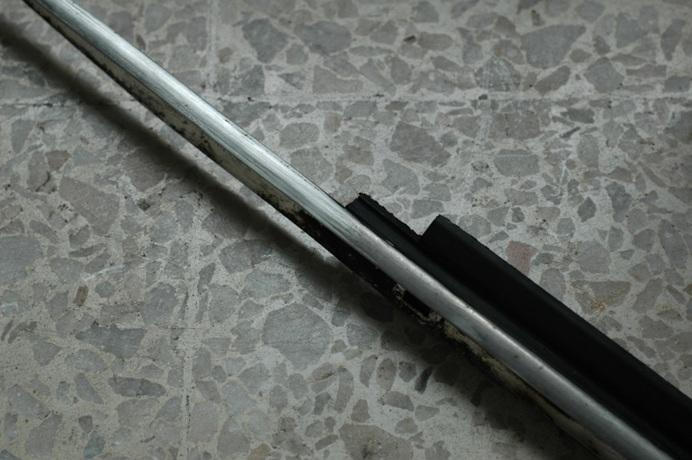
Align it all together again and rivet all the holes..... now you have a complete outer trim.... well almost....

Decided to polish the trim... i think i shld have done this before putting it all together... anyway.. here is pic of the trim.... before and after polishing the trim... right side before ...left side after... i used a 1000 grit sand paper to smooth it of too
 Ok before you put it on the car... you will need to flatten all the rivets so that it will clear the window sill...

 As i mention in a pass post... the window winding mech need to be put it first then the vent window is place in the position as seen above to that the base of the vent window is held into place by the window winder mech... (confused yet??... send me Q in a comment)
 Cleaned out the window glass slot and then painted it... I used more of the tyre rubber to make a rubber seal and pressed the glass into place... make sure you mark the position before dismantling...
 Once the window winder is secured and the glass is cleaned... you can put in the glass by unscrewing the bottom screw of the window winder and placing a rubber mallet to pry in away from the door... the window winder shld be wind down .... then put in the glass behind the window winder between the door's outer skin.... take the mallet out (if you have a friend to pry the window winder so you can put in the glass would be easier)... Push the glass up into the window channel just enuff so that its catches the both channels... Then secure the glass to the window winder mech and tighten the screws a few turns but dont fully tighten it...
this was tedious work so i didnt have time and was to tired to take a shot....
 Putting in the door seal was easy but make sure not to stretch it to much... so just place in channel and tuck it in...
 Done!!!... now do all that on the other side... and you will finally have now worries about water getting in.... well almost no worries....
No comments:
Post a Comment