
finally doesnt look like rats nest...


 I drilled out an exit hole at the rear next to the battery area
 then i drilled these holes at the front of the door frame
 then another hole at the trunk... tried to get it to look like the hole on the left side of the car....
 Cleaned up the fuse box.... all the copper soaked in coca cola for 10 minutes...
 Main harness snaked in from the engine compartment and down to the battery area....
 then put through the hole i made near the battery area.... then snaked towards the front along the door sill...
 .... and through the two holes and straight up through the hole in the trunk....
 the main harness reached the fuse box. starter wire, generator and oil pressure wire all reached their respected switches and fuses....
  switched the right side light wires to the left side and vice versa ......
 .... but the horn wires, high beam wires and ignition wires could not reach their switches... duh!!!.... all these were extended and extra earthing were put in by a proper auto electrician... which will be done at the shop where the engine is being rebuilt....
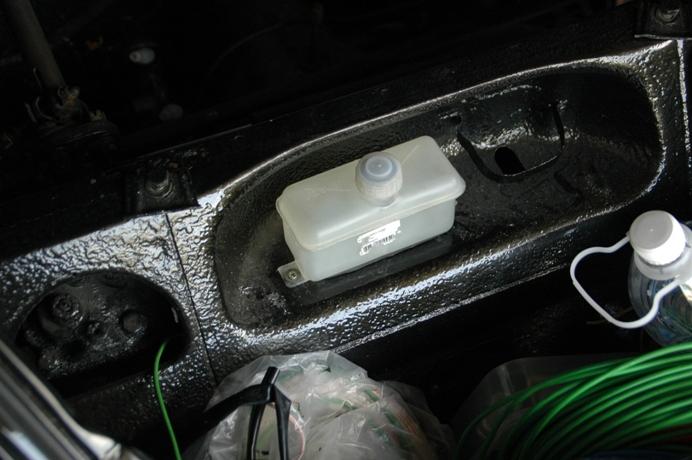
 This is the headlight bucket-to-truck seal.... went in with a lot of silicone grease and a lot of fingering... my fingers where numb for a week (wuss)

 here is the right side all nice and all....

 That grey bit on the steering column is the original colour of the car..... its the only part that i have seen the original colour on... didnt find it anywhere else on the car... it was a nice feeling seeing it for the first time... i was like woah!!.... looks like Fontana Grey...
 There was something keeping the parts together... with a small screw driver i pried what looked like a bearing off from the column.... then the whole thing came apart easily....

 So i greased it up real good and put everything back together....
 I took the steering rod out because im planning to upgrade it to a collapsible type from a post 68 model.... and then mate it with the 70s Aussie Standard Beetle steering wheel i got many moons ago...
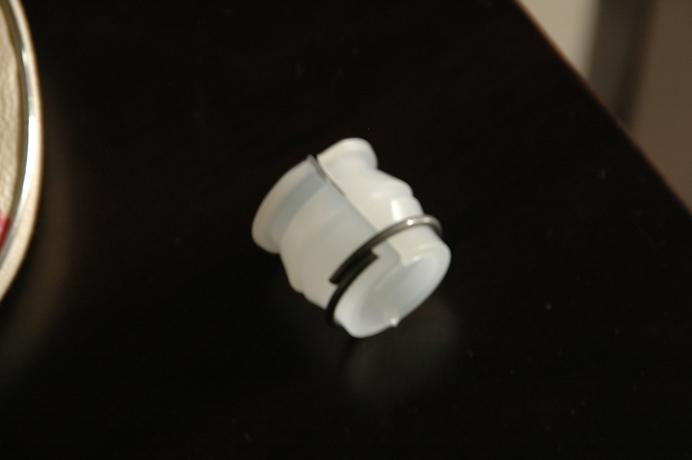 How can something soooo small be such a pain to replace......... aaaaaaaaaarrrrrrrrr rrrrrghhhhhhhhhhh... !!!!!!!!!!!!!
 Removed the shifter to see whats down there,,.. and as suspected the Shifter bush wasnt even there... must have disintegrated and gone before i was born...
 But i wanted to clear up the rust and dirt on the rod... so i took the whole thing out clean it and greased it to hell.... you can see the clip from the old bushing still on the rod... but still no sighting of the the old bushing,....
 a close up of the new shifter bushing placed in its slot.... by the end of the day if you did it like me... you will be all sweaty and dirty and you will need two many three showers.... ;)
