Thursday, May 26, 2011

The Engine has Left The Building Apr 2011

New Conrod bushes.... nice....

As mentioned in a post sometime back ..... I finally decided to outsource the engine work to a garage in Klang called T.T. Auto Sdn Bhd. My back is not playing nice anymore and is acting up more often nowadays... sigh...

so again i would like to apologize to my followers and readers as there will not be detailed photos of the Engine assembly... will try and visit the shop as often as i can but its a whiles away...

good thing about this is that its going to take a lot faster for the engine to be put back together compared to me putting back myself... bad thing is it will take more money for labour.... oh well better save my back so i can actually drive the car when its done ;)

all the engine parts that has been sent out for machining are back with me... just waiting for the heads to be done so i can send it over together with everything else...

The storeroom finally looks clear..... much to the wife's delight...


Wednesday, May 25, 2011

Valve Assembly OUT! Apr 2011


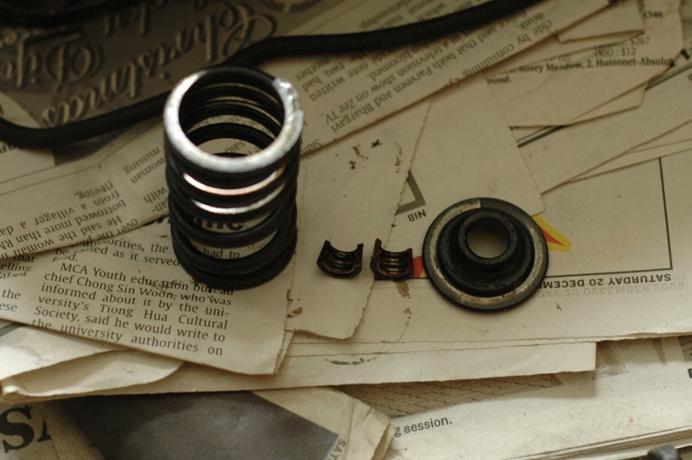
removed all the valves, valve springs, keepers and seats....

What i did was i put a rubber door stop against the valve and waged the heads on a piece of wood. then clamped everything together... Then I used a curtain railing bracket which i had laying around the storeroom which i bent and clamped it on the valve spring with a big socket... After making sure everything was secure i proceeded to tightened the clamp down till the springs were compressed just enuff to expose the keepers and then used a magnet to remove the keepers....

the whole thing comes apart easily after that...


Now i can send the head for polishing, light skimming and new valve guides put in.... need to get a set of new exhaust and intake valves too...

Tuesday, May 24, 2011

Wiper Motor Cleanup March 2011


Didnt do much here just dismantled, cleaned up, greased up, painted and polished...

Monday, May 23, 2011

Door Seals March 2011


Door seals easy peas'y.... but took the driver's side out... cos the door doesnt want to close proper... *Mental note next time get the body guy to put in the door seals when aligning the doors and the body and the hinges* same thing goes for the running boards....

will redo the driver side by adjusting the seals... dont want to ruin it further by messing with the doors... not in this country thats for sure....

Saturday, May 21, 2011

Door Handles Mar 2011

While working on my outer door handles i noticed something i didnt noticed 5 years ago when taking the car apart....

My drive side door handle is a crap 1966 repo part (correct me if im wrong, it may just be a really crappy 65 repo).... it actually is slightly different then a OEM 1965 handle as you can see in the photos below... it doesnt really fit in the door ... the only way it will fit is if you force it in, and that would surely lead to damage paint... I thought the holes in the door got different after painting but after fitting my original passenger side handle on the driver side... it was clear that the 1966 repo handle didnt belong on this car...

the good part about the repo handle was that the plunger spring and some small bits inside were still alright... so i dismantles both, cleaned it up and swapped over the good parts....


Top is the driver's side and the bottom one is the passenger side


The Stainless Steel Wrapped passenger side door handle goes back on the car... sweet!... now i just need one for the driver's side...


Thursday, May 19, 2011

Door and window Assembly completed

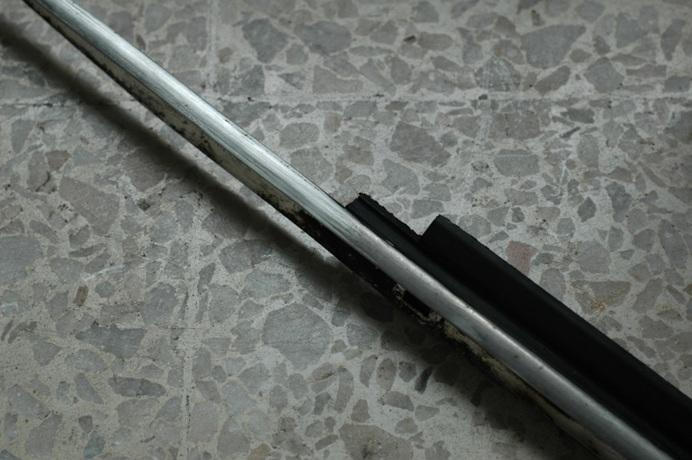
The outer window trim are original so i didnt want to get some cheap repo parts put in... So here is what i did ....bought two sets of the inner window scrapper... One set will be used as intended but the other set will be used to replace the outer scrapper.... this isnt as easy as i thought but it worked well and i got to save the original outer trim....

first remove the old outer window scrappers from the outer window trim.... They are riveted to the trim so you will need to drill it out but make sure not to make the hole bigger.. best to use a drill bit that is smaller then the hole...
Then remove the fuzzy strip from the new inner window scrappers... Again its not an easy task cos it requires brute force but with a lot of care as to not ruin and damage the rubber....
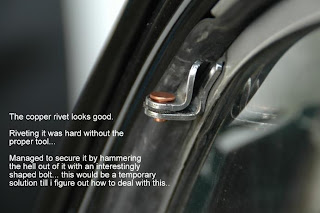
Below is the old brackets which were holding the old rubber in place... it got all bent out of shape when removing the old rubber seals.... so i took out most of the rivet fragments and took a hammer to it to straighten it out...

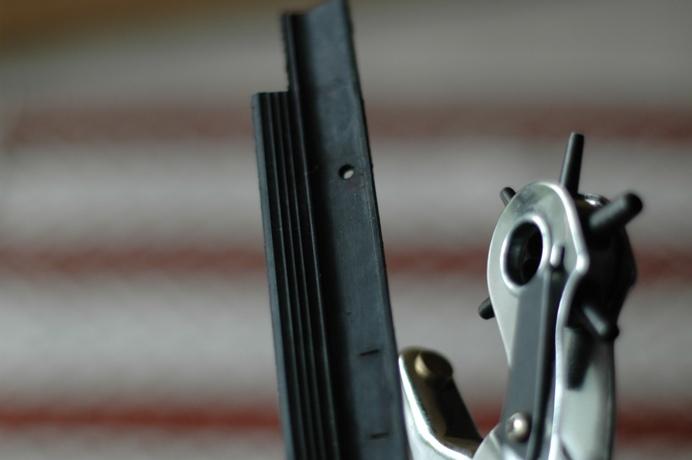
Then put the bracket, the outer window trim and the stripped rubber piece from the inner scrapper together... align it to make sure it fits properly... so that you can mark where the rivet holds go on the rubber... Then punch holes into the rubber for the rivets...
Align it all together again and rivet all the holes..... now you have a complete outer trim.... well almost....

Decided to polish the trim... i think i shld have done this before putting it all together... anyway.. here is pic of the trim.... before and after polishing the trim... right side before ...left side after... i used a 1000 grit sand paper to smooth it of too
Ok before you put it on the car... you will need to flatten all the rivets so that it will clear the window sill...


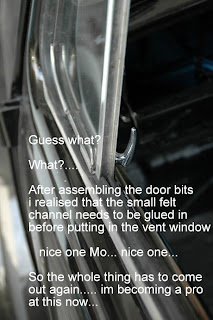
As i mention in a pass post... the window winding mech need to be put it first then the vent window is place in the position as seen above to that the base of the vent window is held into place by the window winder mech... (confused yet??... send me Q in a comment)
Cleaned out the window glass slot and then painted it... I used more of the tyre rubber to make a rubber seal and pressed the glass into place... make sure you mark the position before dismantling...
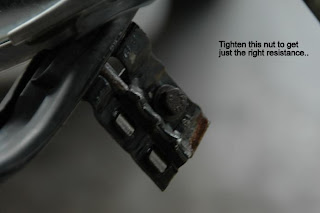
Once the window winder is secured and the glass is cleaned... you can put in the glass by unscrewing the bottom screw of the window winder and placing a rubber mallet to pry in away from the door... the window winder shld be wind down .... then put in the glass behind the window winder between the door's outer skin.... take the mallet out (if you have a friend to pry the window winder so you can put in the glass would be easier)... Push the glass up into the window channel just enuff so that its catches the both channels... Then secure the glass to the window winder mech and tighten the screws a few turns but dont fully tighten it...

this was tedious work so i didnt have time and was to tired to take a shot....


Putting in the door seal was easy but make sure not to stretch it to much... so just place in channel and tuck it in...
Done!!!... now do all that on the other side... and you will finally have now worries about water getting in.... well almost no worries....

Sunday, May 01, 2011

Body trim!! Aug 2010

This was done August last year but wow... its been a hectic year.... Our little bundle of Joy Baby girl Ellie was born last January 2011 .... so time just went by so fast next thing you know its 4 months later... and im scrambling to get the beetle ready....

Thought it cld be done last year before Ellie's arrival..... yeah right.... as if 7 years later and i still didnt know better...

anyways last August i was hit with some news... this was not a good one like Ellie's arrival... This was bad... very bad .... one which will change the way this blog is heading and or presented...

I was diagnosed with Degenerative Disk Decease .... ... Basically which means my Back is screwed .... which means i cant be doing anything heavy or stressful on the back...... sigh... so i cant work on the car too much.... and sure hell cant put the engine back together on my own... so the next few post will be some parts going back on the car... some electrical work... and other misc stuff... engine work unfortunately will be sent out...

So let me apologizes to my readers who have been following my blog as there will not be detailed engine put together shots or how to's.... but i do hope that this blog still helps in some way to all you bug lovers out there...

below are a few shots of the body trim going back on the car... this was done last August after my back was a little better.... it was just light work so it was ok... ;)

put the seals in ..............

Put the clips on to the trim..... then align it to the hole and mate it once its all in line....


new trim make all the other chrome parts look dull... oh well as mentioned im just putting things back together... and focus on getting the car back on the road....

Wednesday, December 08, 2010

Malaysian Bug Fest Jun 2010

Took a drive down to Johor Bahru with my sister and a few friends for the 2010 BugFest... awesome turnout and i even manage to source a 77mm High Compassion Piston set....


Monday, November 08, 2010

Fraser's Hill Run Feb10

Last February a few members from Volksriders took a drive up Fraser's Hill... it was an awesome drive and will one day drive up again once my car is done....

Wednesday, October 06, 2010