Tuesday, May 31, 2011

Main Harness Snaked into Car May 2011


Ok so everyone knows i got a LHD wiring harness set from Wiring Works... its an excellent kit but how do i use it for a RHD car......

So i had this bright idea of running the harness through the right side of the car and reverse all the headlight and signal light wires from left side to right side.... interestingly it worked..... but every other wire that ran from the fuse box to all the switches on the dashboard did not quite line up and needed to be extended....

anyways below are a few photos of my attempt to wire my right hand drive car with a left hand drive wiring harness...


I drilled out an exit hole at the rear next to the battery area
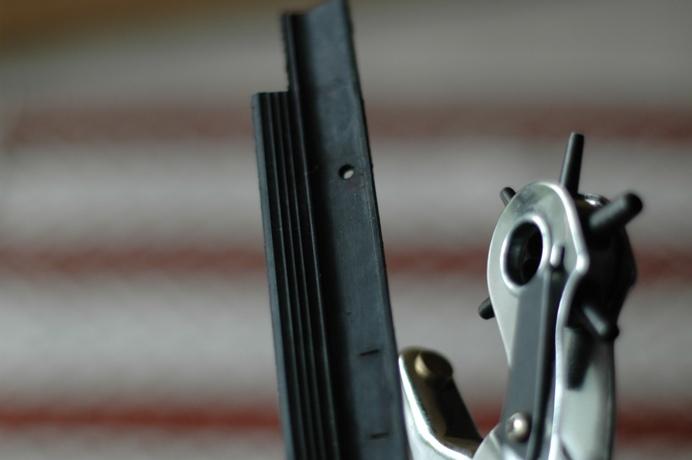
then i drilled these holes at the front of the door frame
then another hole at the trunk... tried to get it to look like the hole on the left side of the car....
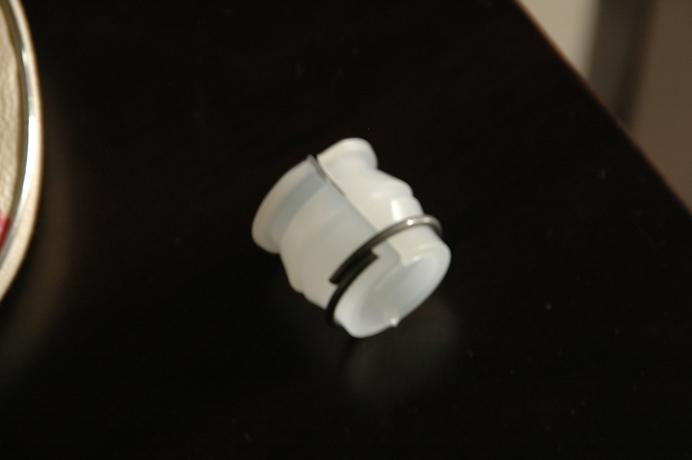
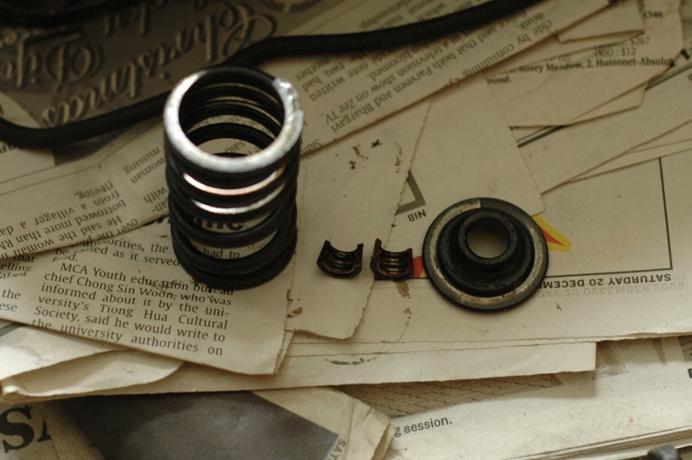
Cleaned up the fuse box.... all the copper soaked in coca cola for 10 minutes...

Main harness snaked in from the engine compartment and down to the battery area....
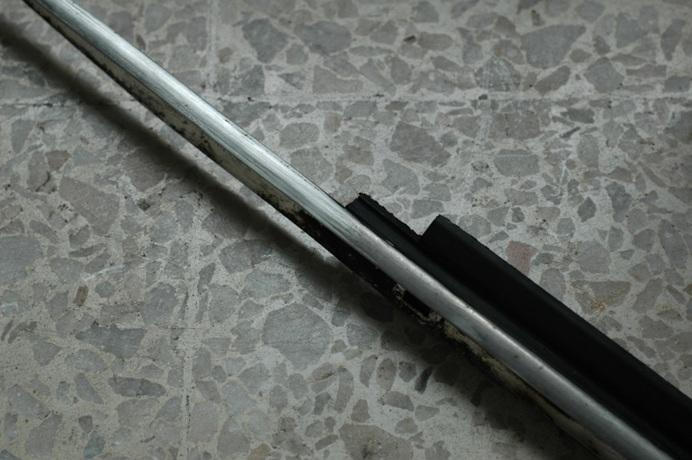
then put through the hole i made near the battery area.... then snaked towards the front along the door sill...
.... and through the two holes and straight up through the hole in the trunk....
the main harness reached the fuse box. starter wire, generator and oil pressure wire all reached their respected switches and fuses....
switched the right side light wires to the left side and vice versa ......

.... but the horn wires, high beam wires and ignition wires could not reach their switches... duh!!!.... all these were extended and extra earthing were put in by a proper auto electrician... which will be done at the shop where the engine is being rebuilt....

Monday, May 30, 2011

Misc Seals in the trunk May 2011

This is the headlight bucket-to-truck seal.... went in with a lot of silicone grease and a lot of fingering... my fingers where numb for a week (wuss)


anyways the signal light seal wasnt cooperating like the other seal...the part that goes into the trunk was so big that it didnt fit into the hole in the trunk .... even with lots of silicone grease and alot of fingering it didnt want to budge.... at last i after literally two hours... i shaved some of the rubber and got it in... then i looked at it and said WHAT THE HELL DID I DO???!! it looked terrible... i know nobody is going to notice it but.... sigh.... im not going to show you guys how it looks like here... anyways so the right side is in and i didnt want to do the same thing to the right side...

so... i used my brains this time and used a taped up small screw driver to drive the rubber into place... it worked and i didnt have to shave the rubber at all... although i did had to use a lot of force...... now if only i did that the first time with the left side...
here is the right side all nice and all....

Sunday, May 29, 2011

Engine Tin Sandblasted May 2011


will be painted satin black ceramic paint

Saturday, May 28, 2011

Steering Column May 2011


Here is my turn signal switch which was hacked by the previous owner to make way for a sports steering wheel... will replace it with the new switch below... this will be temporary as i am looking for an SWF version... the one below is some crappy Taiwanese made stuff... does its job though....


Unbolted the rubber coupling and the the column bracket and pulled the whole assembly out... the steering rod didnt want to come loose cause there was so much of grime, grease and paint on it...but the turn signal switch came off easily only one screw

That grey bit on the steering column is the original colour of the car..... its the only part that i have seen the original colour on... didnt find it anywhere else on the car... it was a nice feeling seeing it for the first time... i was like woah!!.... looks like Fontana Grey...

There was something keeping the parts together... with a small screw driver i pried what looked like a bearing off from the column.... then the whole thing came apart easily....
The bearing looks like its made from copper.... it had a circlip holding it together...

as you can see it was bone dry... im sure bearings need greasing ,....
So i greased it up real good and put everything back together....

I took the steering rod out because im planning to upgrade it to a collapsible type from a post 68 model.... and then mate it with the 70s Aussie Standard Beetle steering wheel i got many moons ago...

that will be show in a later post...

Friday, May 27, 2011

Shifter Bushing Hell... Apr 2011

How can something soooo small be such a pain to replace......... aaaaaaaaaarrrrrrrrr rrrrrghhhhhhhhhhh... !!!!!!!!!!!!!

Removed the shifter to see whats down there,,.. and as suspected the Shifter bush wasnt even there... must have disintegrated and gone before i was born...
The whole shifter rod will have to be removed from the front of the car... to do that you will need to detached the coupling bush thingy which you will find under that cover under the back seat above the chassis vin number... then go under the car upfront and look for a plate that is on the Head Pan of the chassis... (its where the front beam is attached to chassis)... remove the plate and then look into the spare tyre well inside the trunk for the round inspection cover in the middle... Remove this cover and you will be able to look all the way through the tunnel...

Now get back into the car and start pushing/pulling or what ever means to get the rod out toward the front of the car...... when you get towards the end of the rod at the shifter hole... the rod should be peeping out the plate on the head pan... at this point if you are only changing the shifter bushing ... just replace the bushing and using a pair of pliers with rubber tape around its teeth tenderly but forcefully (you will know what i mean) ... levy the rod back into position...

But i wanted to clear up the rust and dirt on the rod... so i took the whole thing out clean it and greased it to hell.... you can see the clip from the old bushing still on the rod... but still no sighting of the the old bushing,....

I used a broom stick (just the stick) to push the rest of the rod out... it will come in handy when you push the damn thing back in.... i've read that its easy for some but harder for others... for me it was the latter...

I later found out that when pushing it in the beginning stage you will need to turn the rod towards the left side of the car (if you are standing in front of the car looking at it... this means your right side) so that it will clear all those mysterious tubes and what-not's in the tunnel...

so do this as slowly as you can and the rod will go in smoothly ... as soon as you feel resistance stop and pull it out a little till is smooth then push it in again (yes this is better than porn)

once everything is in place... bolt everything back together and go through the shifter with glee...
a close up of the new shifter bushing placed in its slot.... by the end of the day if you did it like me... you will be all sweaty and dirty and you will need two many three showers.... ;)

Thursday, May 26, 2011

The Engine has Left The Building Apr 2011

New Conrod bushes.... nice....

As mentioned in a post sometime back ..... I finally decided to outsource the engine work to a garage in Klang called T.T. Auto Sdn Bhd. My back is not playing nice anymore and is acting up more often nowadays... sigh...

so again i would like to apologize to my followers and readers as there will not be detailed photos of the Engine assembly... will try and visit the shop as often as i can but its a whiles away...

good thing about this is that its going to take a lot faster for the engine to be put back together compared to me putting back myself... bad thing is it will take more money for labour.... oh well better save my back so i can actually drive the car when its done ;)

all the engine parts that has been sent out for machining are back with me... just waiting for the heads to be done so i can send it over together with everything else...

The storeroom finally looks clear..... much to the wife's delight...


Wednesday, May 25, 2011

Valve Assembly OUT! Apr 2011


removed all the valves, valve springs, keepers and seats....

What i did was i put a rubber door stop against the valve and waged the heads on a piece of wood. then clamped everything together... Then I used a curtain railing bracket which i had laying around the storeroom which i bent and clamped it on the valve spring with a big socket... After making sure everything was secure i proceeded to tightened the clamp down till the springs were compressed just enuff to expose the keepers and then used a magnet to remove the keepers....

the whole thing comes apart easily after that...


Now i can send the head for polishing, light skimming and new valve guides put in.... need to get a set of new exhaust and intake valves too...

Tuesday, May 24, 2011

Wiper Motor Cleanup March 2011


Didnt do much here just dismantled, cleaned up, greased up, painted and polished...

Monday, May 23, 2011

Door Seals March 2011


Door seals easy peas'y.... but took the driver's side out... cos the door doesnt want to close proper... *Mental note next time get the body guy to put in the door seals when aligning the doors and the body and the hinges* same thing goes for the running boards....

will redo the driver side by adjusting the seals... dont want to ruin it further by messing with the doors... not in this country thats for sure....

Saturday, May 21, 2011

Door Handles Mar 2011

While working on my outer door handles i noticed something i didnt noticed 5 years ago when taking the car apart....

My drive side door handle is a crap 1966 repo part (correct me if im wrong, it may just be a really crappy 65 repo).... it actually is slightly different then a OEM 1965 handle as you can see in the photos below... it doesnt really fit in the door ... the only way it will fit is if you force it in, and that would surely lead to damage paint... I thought the holes in the door got different after painting but after fitting my original passenger side handle on the driver side... it was clear that the 1966 repo handle didnt belong on this car...

the good part about the repo handle was that the plunger spring and some small bits inside were still alright... so i dismantles both, cleaned it up and swapped over the good parts....


Top is the driver's side and the bottom one is the passenger side


The Stainless Steel Wrapped passenger side door handle goes back on the car... sweet!... now i just need one for the driver's side...


Thursday, May 19, 2011

Door and window Assembly completed

The outer window trim are original so i didnt want to get some cheap repo parts put in... So here is what i did ....bought two sets of the inner window scrapper... One set will be used as intended but the other set will be used to replace the outer scrapper.... this isnt as easy as i thought but it worked well and i got to save the original outer trim....

first remove the old outer window scrappers from the outer window trim.... They are riveted to the trim so you will need to drill it out but make sure not to make the hole bigger.. best to use a drill bit that is smaller then the hole...
Then remove the fuzzy strip from the new inner window scrappers... Again its not an easy task cos it requires brute force but with a lot of care as to not ruin and damage the rubber....
Below is the old brackets which were holding the old rubber in place... it got all bent out of shape when removing the old rubber seals.... so i took out most of the rivet fragments and took a hammer to it to straighten it out...

Then put the bracket, the outer window trim and the stripped rubber piece from the inner scrapper together... align it to make sure it fits properly... so that you can mark where the rivet holds go on the rubber... Then punch holes into the rubber for the rivets...
Align it all together again and rivet all the holes..... now you have a complete outer trim.... well almost....

Decided to polish the trim... i think i shld have done this before putting it all together... anyway.. here is pic of the trim.... before and after polishing the trim... right side before ...left side after... i used a 1000 grit sand paper to smooth it of too
Ok before you put it on the car... you will need to flatten all the rivets so that it will clear the window sill...


As i mention in a pass post... the window winding mech need to be put it first then the vent window is place in the position as seen above to that the base of the vent window is held into place by the window winder mech... (confused yet??... send me Q in a comment)
Cleaned out the window glass slot and then painted it... I used more of the tyre rubber to make a rubber seal and pressed the glass into place... make sure you mark the position before dismantling...
Once the window winder is secured and the glass is cleaned... you can put in the glass by unscrewing the bottom screw of the window winder and placing a rubber mallet to pry in away from the door... the window winder shld be wind down .... then put in the glass behind the window winder between the door's outer skin.... take the mallet out (if you have a friend to pry the window winder so you can put in the glass would be easier)... Push the glass up into the window channel just enuff so that its catches the both channels... Then secure the glass to the window winder mech and tighten the screws a few turns but dont fully tighten it...

this was tedious work so i didnt have time and was to tired to take a shot....


Putting in the door seal was easy but make sure not to stretch it to much... so just place in channel and tuck it in...
Done!!!... now do all that on the other side... and you will finally have now worries about water getting in.... well almost no worries....